Managing your products efficiently is crucial for maximizing the potential of your Turnkey eCommerce™ store. This guide will help you navigate the various aspects of product management, including adding products, managing inventory, and setting up product options.
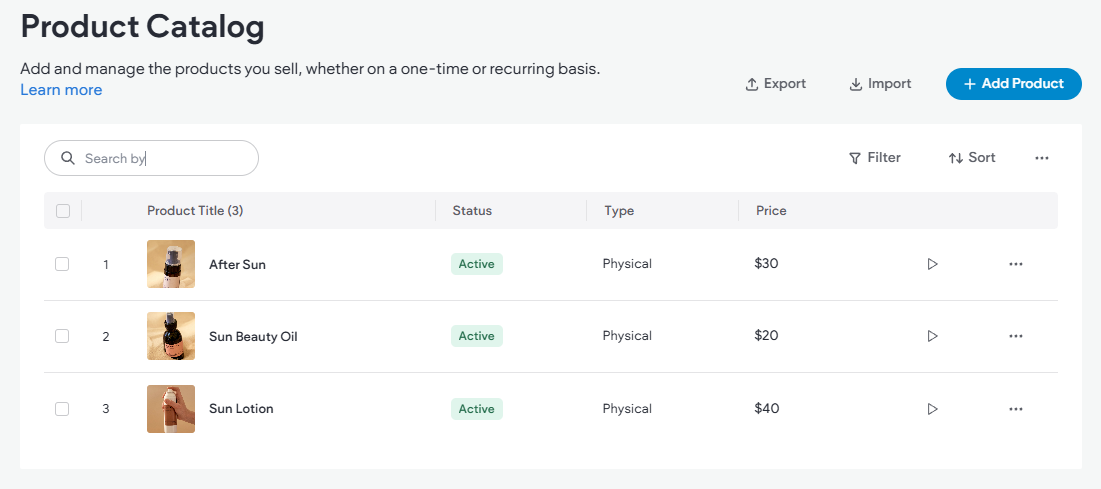
Product Catalog Overview #
Product Listings:
- Manage all products within the Product Catalog. It allows you to add, view, and edit products easily.
- Connected data ensures that changes in the Product Catalog automatically update associated product pages.
Product Types:
- Physical Products: Merchandise and tangible goods.
- Digital Products: E-books, music, and other downloadable content.
- Services: Events or classes for which you can charge.
- Donations: Set up products to accept donations.
Managing Digital Products #
Definition:
- Digital products are downloadable items with no need for shipping.
- Examples include e-books, online courses, music, video content, and stock photos.
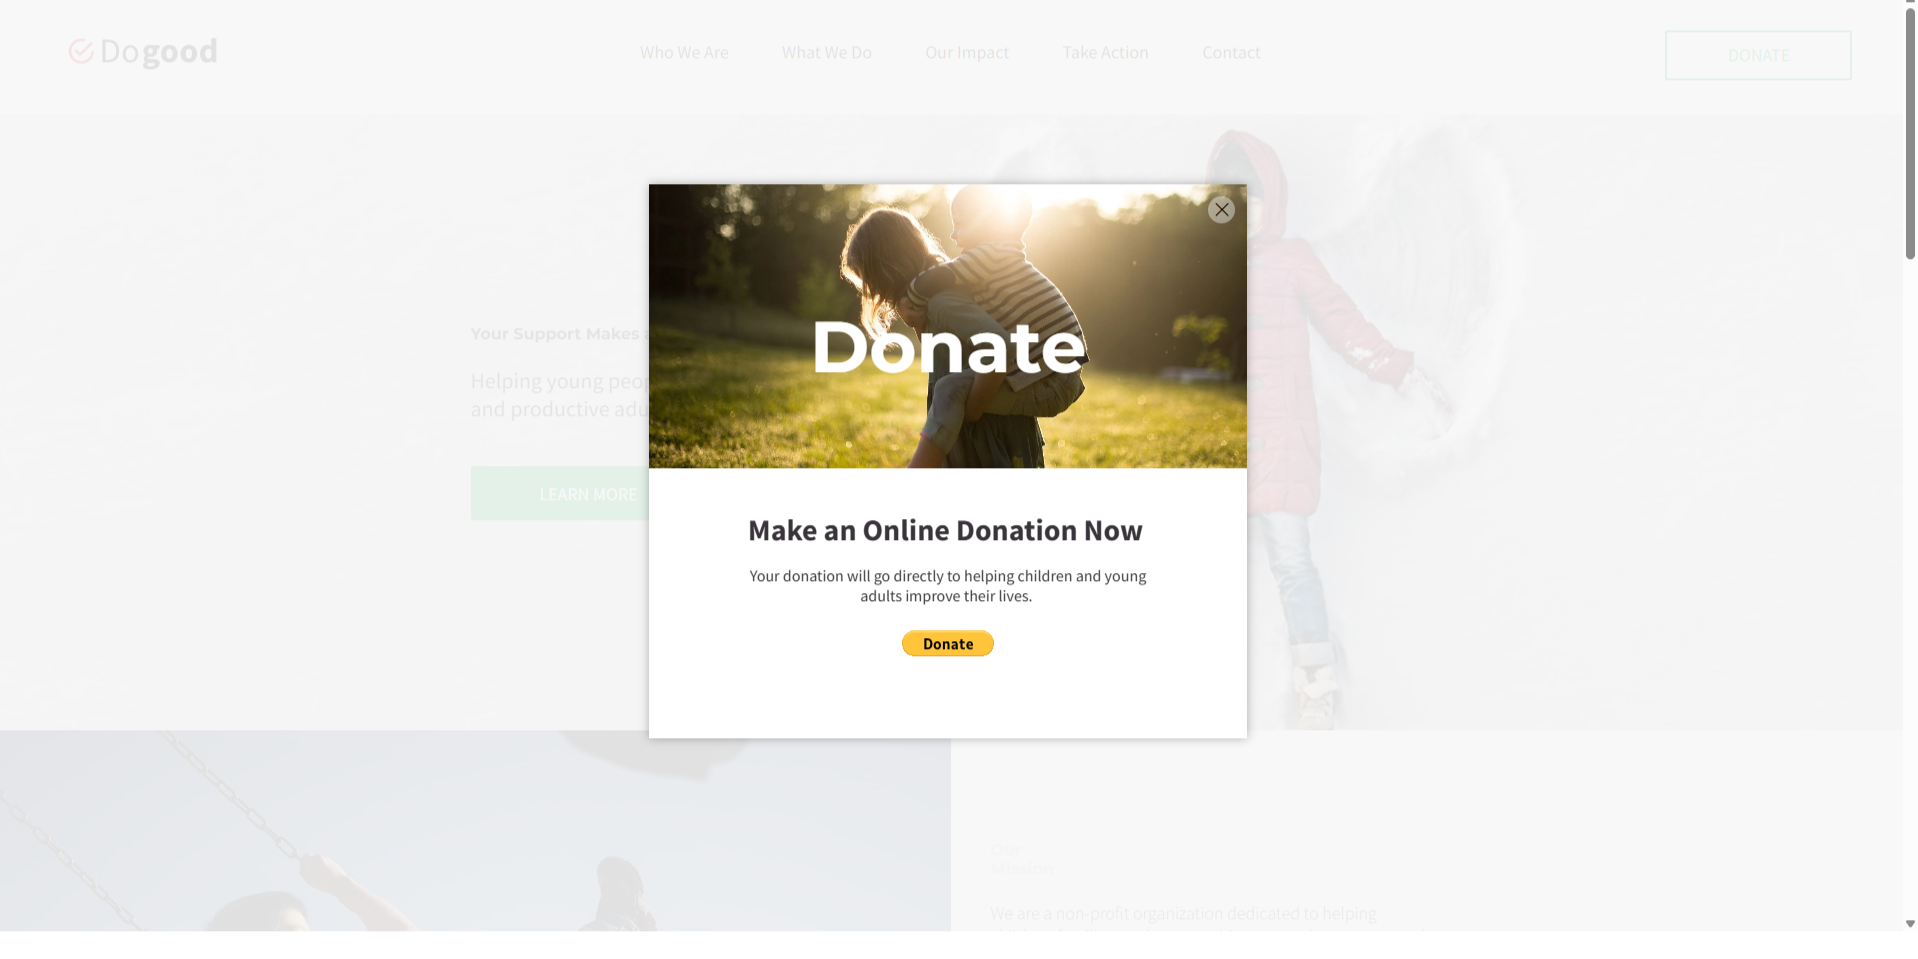
Setting Up Donations #
Donation Products:
- Enable donations by setting the product price to $0 and configuring selectable donation amounts.
- Note: Transaction fees may apply, so consult your payment gateway provider.
Adding New Products #
- Access Product Management:
- Click Sell Online in the side panel, then select Store Management.
- Add a Product:
- Click Manage Products, then +Add a product.
- Choose the product type and fill in the necessary fields.
- SEO Considerations:
- For active products, schema markup is automatically generated to improve SEO.
Editing Products #
To make changes to your products:
- Navigate to the side panel and select Sell Online, then click on Store Management.
- Choose Manage Products.
- Select the product you wish to edit and make the necessary adjustments.
- Click Save to apply your changes.
Deleting Products #
To remove products from your store:
- In the side panel, click Sell Online, then go to Store Management.
- Click on Manage Products.
- Locate the product you want to delete and click the three horizontal dots icon next to it.
- Select Delete product.
Please note that deleting a product is permanent and cannot be undone.
Product Sections and Fields #
- Details: Include title, description, images, and pricing for each product. For digital products, upload necessary files or use URLs for secure access.
- Inventory and Shipping: Manage stock levels and shipping settings for physical products.
- Content Blocks: Add additional information using custom fields like instructions or warranty details.
Managing Product Options and Variants #
- Create Options: Define options like size or color for each product, allowing up to 8 variations.
- Edit and Delete Options: Easily update or remove option values as needed.
- Variants: Manage product variants by editing images, prices, and SKUs.
Create Product Options #
To create customizable options for your products, follow these steps:
- In the side panel, select Sell Online, then click Store Management.
- Go to Manage Products.
- Choose the product you wish to add options to (note: digital products cannot have options).
- In the Product options section, click +Add options.
- Enter an option name, which will be displayed on the Product page as a label above the Product Options widget.
- Type the option values, separating each with a comma. These values will appear in a drop-down menu by default, but you can change them to a radio button format in the widget’s content tab if desired.
- Click Add, then Save.
Once options are added, the Product Options widget is automatically included on the Product page. If it doesn’t appear, you can manually add it from the Widgets panel.
Edit Option Values #
To modify option values for an individual product:
- In the side panel, select Sell Online, then click Store Management.
- Click Manage Products.
- Choose the product you wish to update.
- In the Product options section, click the three horizontal dots icon next to the option and select Edit option values.
- Enter new values separated by commas, or remove existing values by clicking the X next to them.
- Click Apply, then Save.
Delete Option Values #
To remove an entire option from a product:
- In the side panel, select Sell Online, then click Store Management.
- Go to Manage Products.
- Click the product you need to modify.
- In the Product options section, click the three horizontal dots icon next to the option and select Delete option.
- Click Delete, then Save.
Managing product options efficiently allows you to offer a variety of choices to your customers, enhancing their shopping experience.
How to Manage Variants #
Important: Ensure all options are added before editing variants. Adding a new option later will overwrite existing variant edits.
To manage product variants:
- Access Store Management:
- In the side panel, select Sell Online, then click Store Management.
- Manage Products:
- Click Manage Products.
- Open the desired product and scroll to the Manage Variants section.
- Edit Variants:
- Click Manage Variants.
- Update the following fields as needed:
- Image: Add an image for each specific variant.
- Variant Type: The combination of options (this cannot be edited).
- Variant Price: Base price (this cannot be edited).
- Price Difference: Specify the price adjustment from the base price. For example, type
+5 if the variant is $45, or -5 if it is $35. - Inventory: If inventory tracking is enabled, enter the stock level here.
- SKU: The SKU is inherited from the main product but can be modified if necessary.
- On/Off: Toggle off to make a variant unavailable in your store.
- Finalize Changes:
- Click Apply to save your updates.
Effectively managing product variations allows you to offer diverse options to your customers, enhancing their shopping experience and increasing your store’s flexibility.
Managing Product Inventory #
Efficient inventory management is crucial to ensure you have the right stock levels and provide a seamless shopping experience for your customers. Here’s how to manage inventory within your Turnkey eCommerce™ store:
- Access Store Management:
- In the side panel, click Sell Online, then select Store Management.
- Navigate to Products:
- Click Manage Products.
- Open the product you wish to manage and scroll to the Inventory section.
- Inventory Management Options:
- Manual Inventory Management:
- Keep the Track Inventory toggle in the Off position.
- Use the Status dropdown to select the product’s availability status.
- Enter the SKU value for identification.
- Automatic Inventory Tracking:
- Set the Track Inventory toggle to the On position to enable automatic tracking.
- Manage inventory levels directly from the Manage Variants screen for more detailed control.
- Save Changes:
- Click Save to apply your inventory adjustments.
By effectively managing your inventory, you can ensure that your store remains well-stocked and responsive to customer demands, minimizing the risk of overselling or stockouts.
What's your Reaction?
You have reacted on"Managing Store Products"
A few seconds ago


 Subscriptions
 My Orders
 My Wishlist
 Refer & Earn💸
 My Projects
 Conversations
 Website Services
 New Website Request
 Website Addons
 Graphic Design
 Video Production
 Marketing Services
 Get a Marketing Plan
 Local SEO Audit

 Latest Updates
 Consultation Calls
 Tools & Extensions


