Efficiently managing your expanding social media presence demands a systematic approach to posting across diverse platforms. The Bulk Scheduling feature on Social Planner empowers you to streamline this process, sparing you from the laborious task of manual, post-by-post handling. To harness the full potential of this capability, it’s essential to adhere to a set of prerequisites when importing a CSV file into the Social Planner.
Key Prerequisites for CSV Import #
Date and Time Column #
- Format the date and time as YYYY-MM-DD HH:mm:ss, with a single space between the date and time.
- Column header: postAtSpecificTime (yyyy-MM-dd HH:mm:ss)
- Recommended to schedule posts at least 10 minutes after CSV upload.
- Time formatting uses the 24-hour clock.
Content Column #
- Add captions and hashtags.
- Column header: content
- Adhere to character limits:
- Facebook Page/Group: 62,000 characters
- Business Instagram Account: 2,200 characters
- LinkedIn Page and Profile: 3,000 characters
- Twitter Profile: 280 characters
- GMB Location: 1,500 characters
Preview Link #
- Include the URL for the link preview.
- Column header: link (OGmetaUrl)
Image URL #
- Add URLs for images.
- Column header: imageUrls
- Support up to 10 images, comma-separated.
- Ensure proper image formats (e.g., png or jpeg/jpg).
GIF URL #
- Specify the GIF URL.
- Column header: gifUrl
Video URL #
- Provide URLs for videos.
- Column header: videoUrls
- Support up to 10 videos, comma-separated.
Uploading Content #
To upload posts in bulk using a CSV file click the “New Post” button and select “Upload from CSV.”

Ensure that the CSV follows the required format. A maximum of 90 posts can be uploaded per CSV file.

Once the CVS is uploaded, click on Next.

Select Socials #
Select the accounts where you would like to publish the post. This dropdown will display all the linked accounts associated with your platform, allowing you to choose the correct one for your intended audience.

Send for Approval #
Submit the posts contained in the CSV file for review by a designated approver before they are scheduled for publication by clicking the checkbox and selecting the relevant persons.

Once you click ‘Create,’ the contents in this CSV will be ready either for review or scheduling.

Posting CSV Content #
Once you’ve uploaded a CSV file you’ll need to take a few more steps to finish the process.
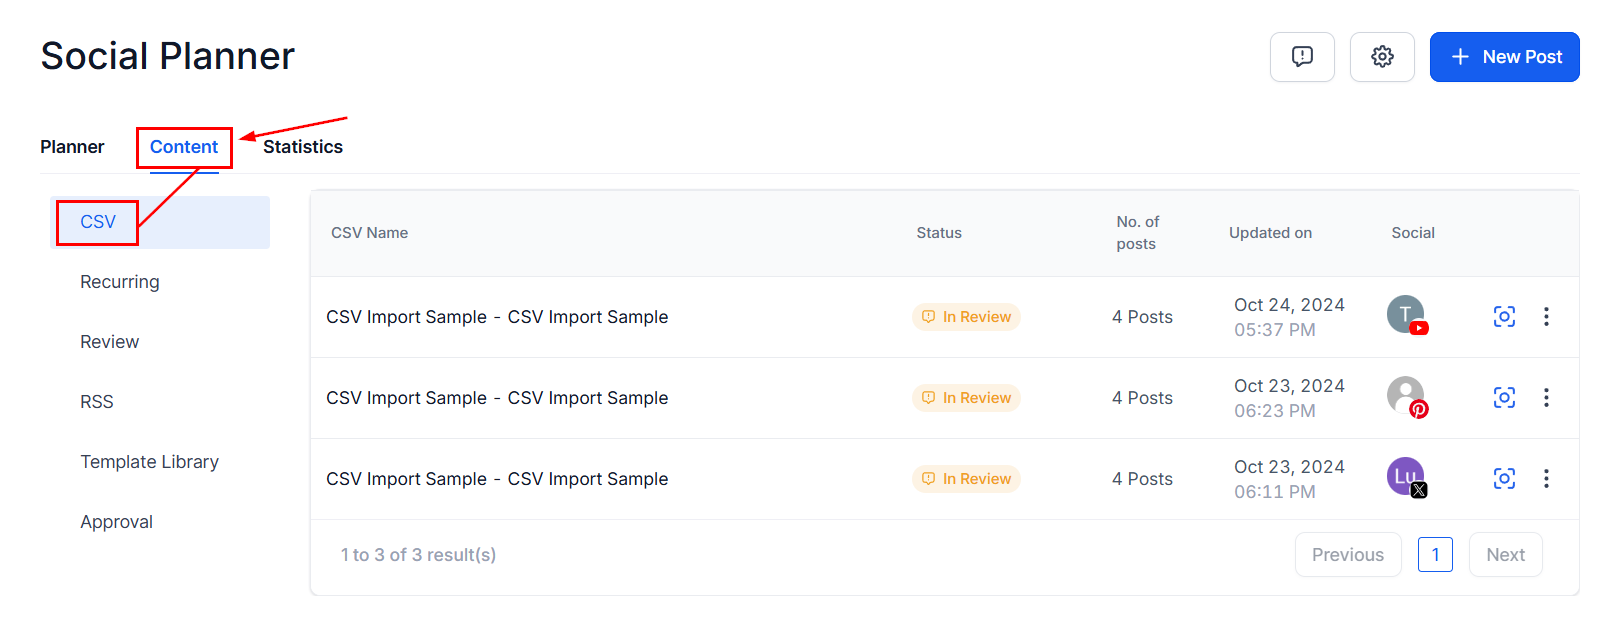
Check CSV Status #
Head to the Content tab inside the Social Planner of the marketing section and select CSV to monitor the importing process. There will be two possible statuses for recently uploaded files:
- In Progress: Being processed for content, links, images, and videos.
- In Review and Schedule: Review details and make changes for posts with errors.
Review and Schedule #
Examine posts for any errors and make necessary adjustments.
Note: Detailed error information is displayed for resolution.
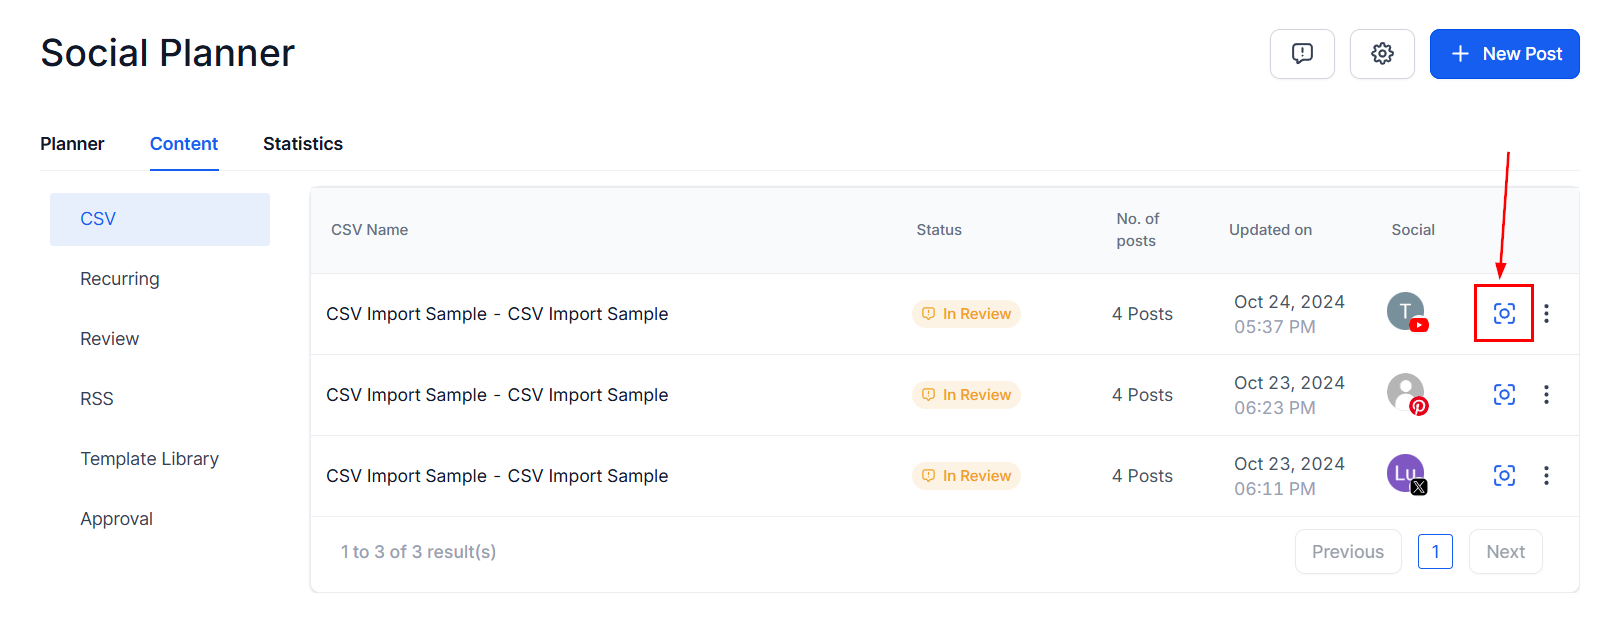
Import Posts #
Once errors are resolved, import posts to the Social Planner.

Dashboard Overview #
The Social Planner dashboard distinguishes posts from CSV uploads and those from Post Composer.

What's your Reaction?
You have reacted on"Schedule Posts In Bulk On The Social Planner (CSV)"
A few seconds ago


 Subscriptions
 My Orders
 My Wishlist
 Refer & Earn💸
 My Projects
 Conversations
 Website Services
 New Website Request
 Website Addons
 Graphic Design
 Video Production
 Marketing Services
 Get a Marketing Plan
 Local SEO Audit

 Latest Updates
 Consultation Calls
 Tools & Extensions


