The ability to select the right currency for your documents is a huge improvement, especially for businesses dealing with international clients. This feature eliminates the challenges of handling various currencies and allows you to easily select the currency that matches your client’s location.
Whether you’re sending an invoice, estimate, or a contract, using the correct currency from the start makes your work more efficient and stress-free.
Primary Benefits #
- Global Flexibility: You no longer have to worry about figuring out exchange rates or manually converting currencies. You can now send important documents and contracts in your client’s local currency.
- Effortless Invoicing: When creating a new document, you can easily select the appropriate currency. Whether you’re adding a product or service, this option ensures that the currency is accurately reflected on the final invoice, estimate, or contract, leaving no room for confusion.
- Enhanced Client Experience: Allowing clients to pay in their preferred currency greatly improves their experience with your business. It makes transactions quicker, and more convenient.
To leverage this new feature effectively, follow the steps outlined below:
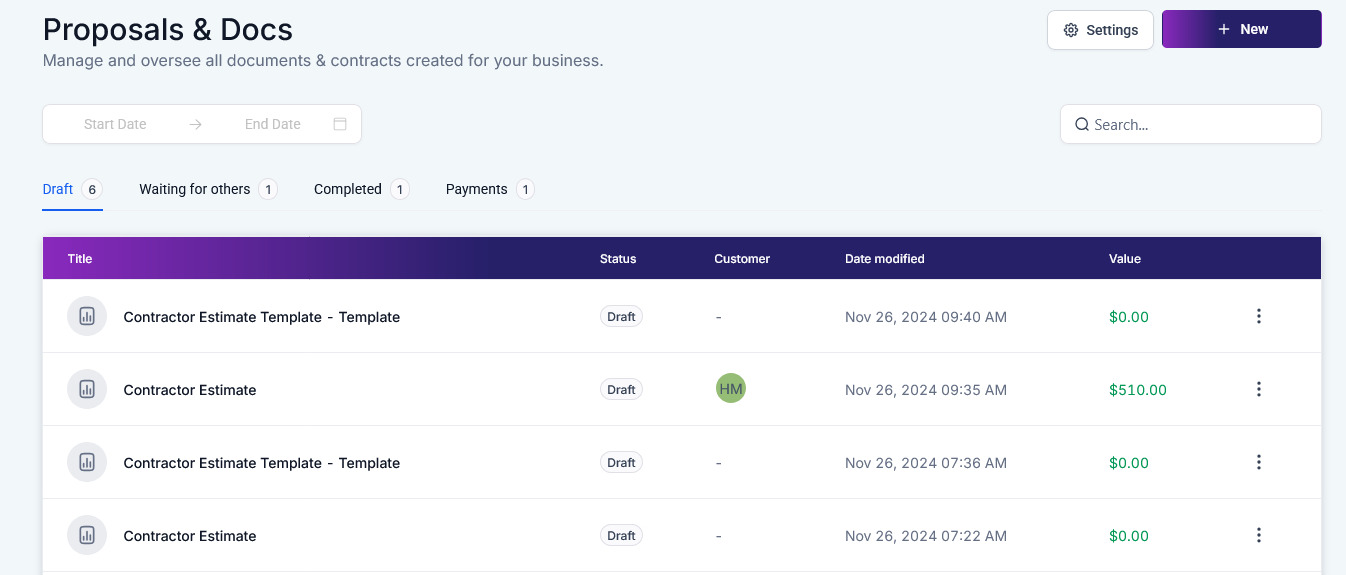
Accessing the Feature #
To start head to “Data Collect” > “Proposals & Docs” > “Templates” to manage your document and contract templates.
If you need to create a new document, simply click the +New button. You can also choose to edit an existing document if that’s what you’re working on.
Adding the Product List Element #
Once you’re inside the document editor, you’ll need to add the Product List element. This is where you’ll list all the products or services you want to include in your invoices, estimates, or contracts.
It’s important to add this element first so that the document is well-organized and easy for your client to follow.

Choosing the Currency #
After you’ve set up your product list, click on the Add an Item button within that section. A dropdown menu will appear, giving you a list of currency options to choose from.
Select the one that matches your client’s country or preference. By doing this, you ensure that the documents & contracts are in the correct currency, avoiding any potential misunderstandings or errors down the line.

Finalizing the Document #
Once you’ve added all the necessary items and chosen the correct currency, it’s time to finalize your document. Before sending it off, double-check that the currency (like USD$) is correctly displayed.
This small step helps maintain clarity for your client and avoids any potential payment delays.
Troubleshooting and FAQs #
Q: What if the currency I need isn’t listed?
- A: Our CRM frequently updates its currency list based on feedback from users and changes in global markets. If you don’t see the currency you need, you can reach out to our support team, and they’ll assist you in finding a solution.
Q: Can I change the currency after sending the document?
- A: No, once a document has been sent, the currency cannot be altered. This is to protect the integrity of the transaction. If you’ve sent a document with the wrong currency, the best course of action is to create a new document using the correct currency.
What's your Reaction?
You have reacted on"Choosing The Right Currency for Documents &..."
A few seconds ago


 Subscriptions
 My Orders
 My Wishlist
 Refer & Earn💸
 My Projects
 Conversations
 Website Services
 New Website Request
 Website Addons
 Graphic Design
 Video Production
 Marketing Services
 Get a Marketing Plan
 Local SEO Audit

 Latest Updates
 Consultation Calls
 Tools & Extensions


