The autoresponder feature automatically sends personalized responses to clients upon their form or survey submissions. This ensures that your clients are immediately acknowledged, making them feel valued and keeping them engaged with your brand.
Access Forms/Surveys #
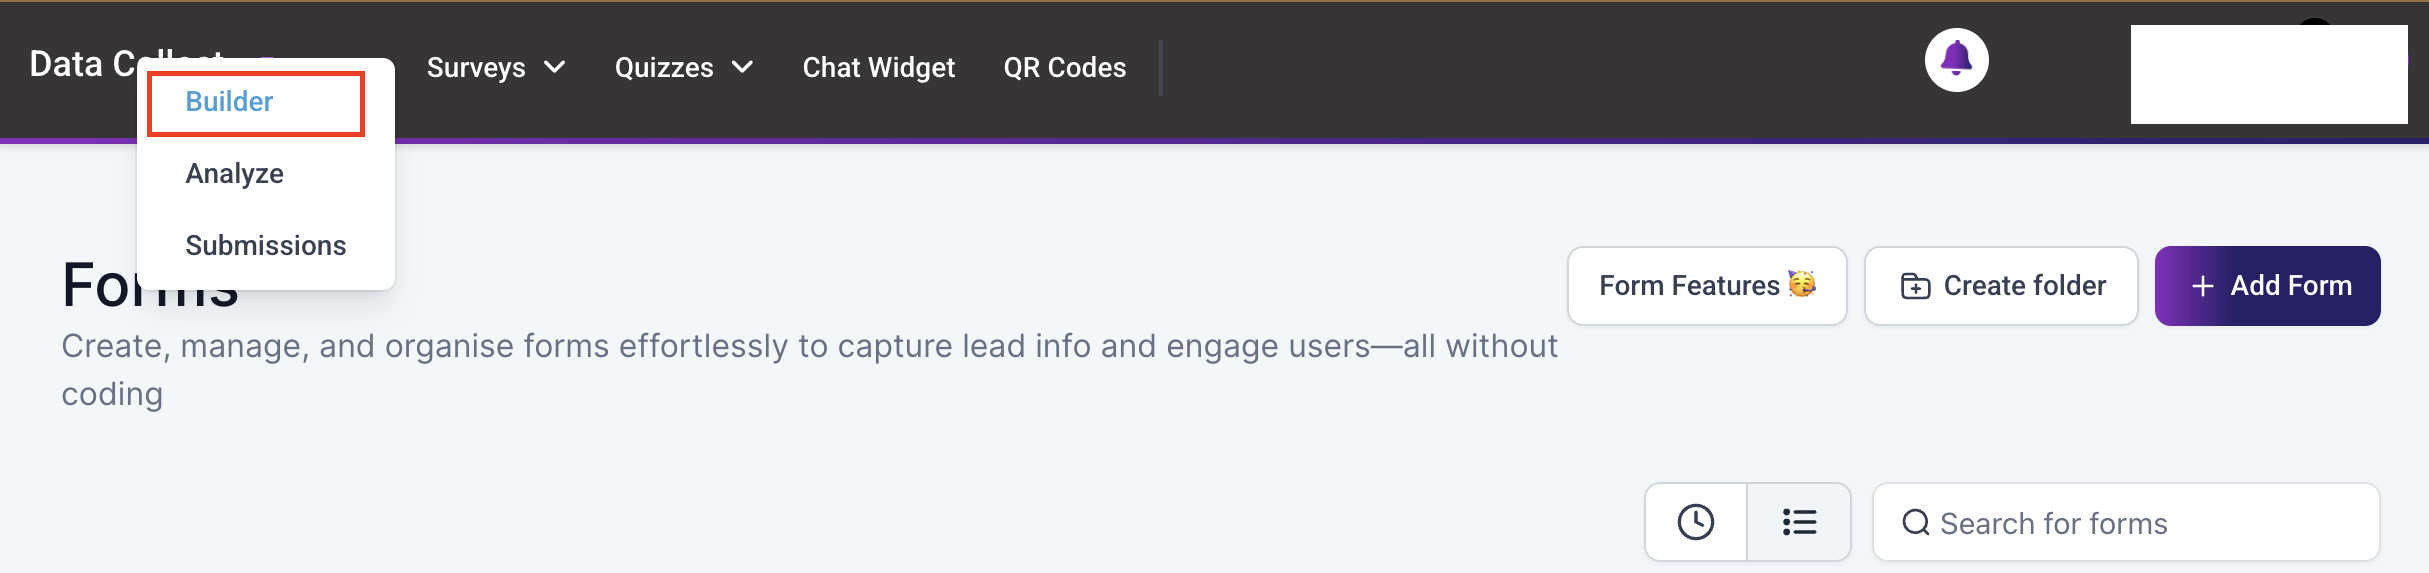
Navigate to the “Sites” tab. Hover on Forms/Surveys” from the upper navigation menu, then click on “Builder”.
NOTE: We are using the form section for this illustration because the form and survey builders follow similar instructions, except for the Conditional logic option in the form builder.
Create or Select a Form #
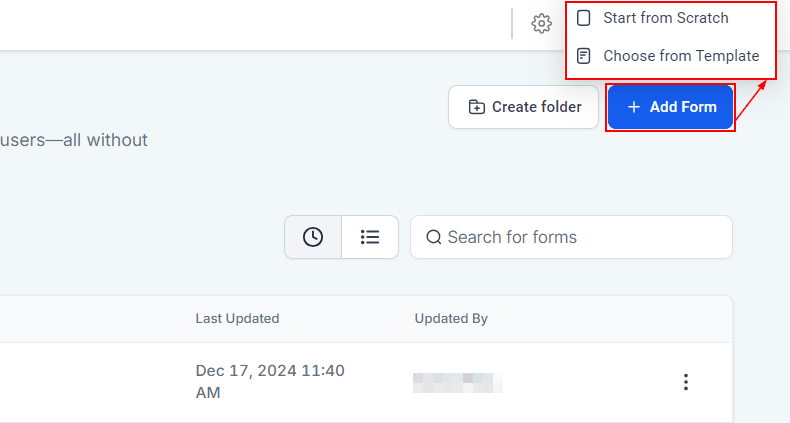
Click on the “Add Form” button. You can start from scratch or choose from a template.
Configure Autoresponder #
After creating or selecting the form, click on the bell icon located at the top left panel, and toggle on “Auto Responder.”

Fill in the required details such as the email subject line, the direct reply-to option, and the sender’s identity to personalize the auto-response. Save your settings.

Test and Go Live #
It’s always a good idea to test the autoresponder by submitting a form yourself and checking the response. Once satisfied, your form is ready to collect submissions, and the autoresponder will take care of engaging your clients.
Use Case #
A practical use case includes event registrations, where autoresponders can send immediate confirmations and event details, feedback surveys to acknowledge and thank clients for their input, and service inquiries to provide instant replies and set the stage for further interaction
Setting up an autoresponder simplifies client communication by providing instant responses, quick engagement, and maintaining professionalism. With its easy setup, this feature is a must-have for creating great client interactions.
Troubleshooting Tips and FAQs #
Q: Can I customize the auto-response for different forms?
- Yes, each form or survey can have its customized auto-response settings.
Q: Is there a limit to the number of auto-responses sent?
- No, there is no limit. The autoresponder will send a response for every submission received.
Q: I’m Not Receiving Auto Responses.
- Ensure the autoresponder toggle is turned on and the email details are correctly filled out.
Q: Incorrect Information in Responses.
- Double-check the form fields and autoresponder settings for any mismatches or errors.
What's your Reaction?
You have reacted on"Setting Up Auto Responders for Forms and Surveys"
A few seconds ago


 Subscriptions
 My Orders
 My Wishlist
 Refer & Earn💸
 My Projects
 Conversations
 Website Services
 New Website Request
 Website Addons
 Graphic Design
 Video Production
 Marketing Services
 Get a Marketing Plan
 Local SEO Audit

 Latest Updates
 Consultation Calls
 Tools & Extensions


