From lead funnels to signup pages and even calendar scheduling, the form builder section of your CRM gives you immense control. Create fully customized forms; however, you want to ensure they precisely reflect your brand’s identity! Visualize your desired forms with unique styling and powerful features surrounded by a sea of possibilities at your fingertips.
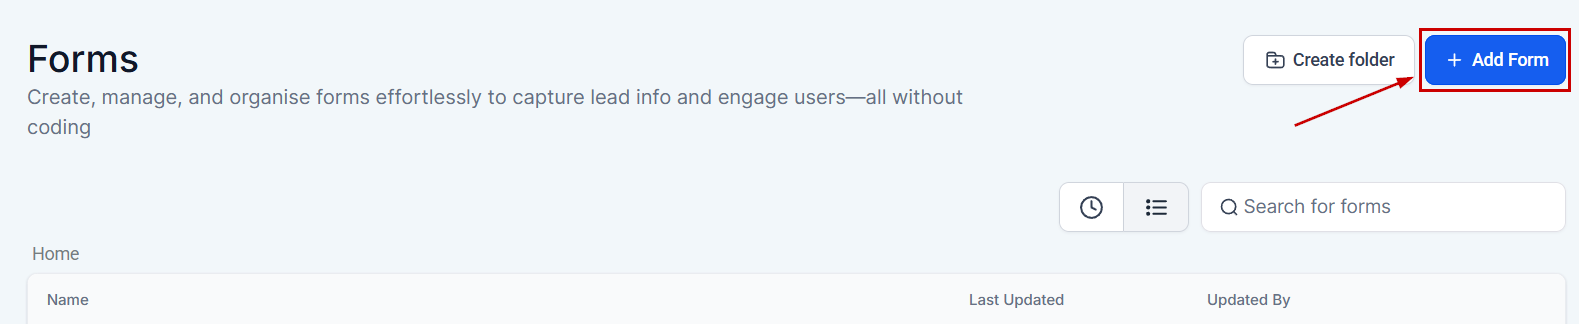
Begin by navigating to the Form Builder section under the Data Collect tab. Then, click the Add Form button located in the upper right-hand corner of the modal.
Different Tabs #
You have four different tabs to navigate between when creating and editing forms:

- Form Element: The Form Element feature enables adding and customizing fields and components within each form. With the Custom Field option, you can tailor forms to your specific requirements, incorporating specialized fields. The Quick Add option facilitates the inclusion of standard questions, streamlining the form creation process.
- Styles: Under Styles, you can adjust the layout, colors, and fonts of your forms. This section allows you to personalize the appearance of your forms to match your vision, ensuring they are visually distinct and aligned with your branding.
- Themes: The Themes option offers preset designs that enable you to swiftly apply a cohesive and visually appealing look to your forms. This feature helps in achieving a professional and consistent appearance across your forms with minimal effort.
- Options: The Options tab assists in managing component details such as names and tracking data for each customized form. This functionality ensures you can efficiently oversee and organize form elements according to your needs.
Styling the Form #
By clicking on the icon at the top right corner you can modify the look of your form further, starting with the way the fields will be spread across the form.

Single Column #
This will be a vertically streamlined version of the form, all fields will have a width of 100%

Two Column #
This will break down your fields into two columns, the split between fields will be 50% by default.

Single Line #
This will have as many fields as possible in a single horizontal line, this version allows you the most control over how many fields and how wide they are inside the setup.

Field Width and Customization #
When selecting a multi-column option you can customize how much of the column any box takes by clicking on it and modifying its Field Width.

You can personalize the form further by selecting a field, this will open its settings for you to change the field’s label, or placeholder, and mark it as required for obligatory information.

Integrate Form #
To embed a form onto your webpage, navigate to the Integrate tab. This section provides you with the necessary code and integration options to seamlessly add the form to your site.

After clicking this option, a popup will appear with the Embed Layout Type. It provides 4 forms of design layout for users to choose from:
Sticky Sidebar #
A Sticky sidebar will appear on the side of the screen. Users can choose for the sidebar to appear either on the right or left side of the screen. The sidebar can also be minimized, and a user prefers to choose whether they would like it to be minimized. To set the preference to minimize or not, a user can use the checkbox in the image below the sticky sidebar (see the image below). A user can also give a specific title for the sidebar to show when the sidebar is minimized.

Polite Slide-In #
A polite slide-in appears at the bottom of the screen. A user can select either the right or left side of the screen for the form to appear. Slide-in forms stay for a limited time on the website. Once the user is done, it disappears and gives a user a free space to scroll through the website. Just like the sticky sidebar type of form, it is possible to allow the form to minimize it or not.

Pop-up #
Pop-up forms are used to collect visitor’s information on the website. This type of form can be closed when it appears on the screen, but it can not be minimized.

Inline #
In an inline form, all elements are inline and left-aligned, and the labels are alongside. This type of form appears along with the content of the page. Sticky sidebar and slide-in forms can either be closed or minimized, but Inline forms cannot be closed or minimized.

Trigger Type #
With trigger types, the User has the power to control when and how the form is shown on an external page. There are three different ways a user can set the trigger.
- Show on Scrolling: The form will be shown based on how much a user has scrolled on the website page.
- Show after _ seconds: The form will appear when the visitor has spent the set amount of time. You can set the seconds in the box as per your objective.
- Always show: This will allow the form to appear as soon as the visitor lands on the website.

Activation Options #
Here you can set how the form would be activated.
- Activate on _ visit: If user visits are your criteria for the form to appear, then you can set it for the form to appear when a visitor has come to your page for the second time or the third time. This way, the form has to be shown only starting from the Xth visit (depending on the number you have set)
- Always Activated: As the name suggests, the form will stay activated no matter if a visitor has come on the page for the first time or is a repeat visitor.

Deactivation Options #
Here you can set up the deactivation for a form.
- Deactivate after showing _ times: This form has to be disabled after showing for x number of times. We will have to use a cookie to track the form and the visits (Dev to confirm).
- Deactivate once lead is collected: This form has to be disabled only after and once a lead is captured.
- Never deactivate: This form is never deactivated once activated.

Copy Embed Code #
You can copy the embed code if you would like to put your form on an external page by clicking the Copy embed code button.
Make sure to talk to your web developer if you are unsure how to install the code on an external page.

Copy Form Link #
If you would like to quickly send the form as a link to a customer, click on the copy link form.

Open Form Link #
You can also click on the Open Form link button to open the form in a new browser window.

Save Form #
Make sure you save all of your form progress! Don’t worry, when you save you will remain in the form builder. It is just a good habit to save the form as you go.

What's your Reaction?
You have reacted on"How to Create a Simple Form"
A few seconds ago


 Subscriptions
 My Orders
 My Wishlist
 Refer & Earn💸
 My Projects
 Conversations
 Website Services
 New Website Request
 Website Addons
 Graphic Design
 Video Production
 Marketing Services
 Get a Marketing Plan
 Local SEO Audit

 Latest Updates
 Consultation Calls
 Tools & Extensions


