The Quiz Result Template is an essential feature displayed to users upon completing a quiz. This template serves as the final screen of the quiz experience and can be used in various ways depending on your goals. It provides the opportunity to present quiz results and can be customized to display a message confirming that the quiz has been completed, offering a sense of closure for the user. This feature enhances the user experience by offering clear and relevant information, reinforcing engagement, and guiding users on the next steps based on their quiz performance or results.
Customizing Your Quiz Result Template #
Access the Result Template #
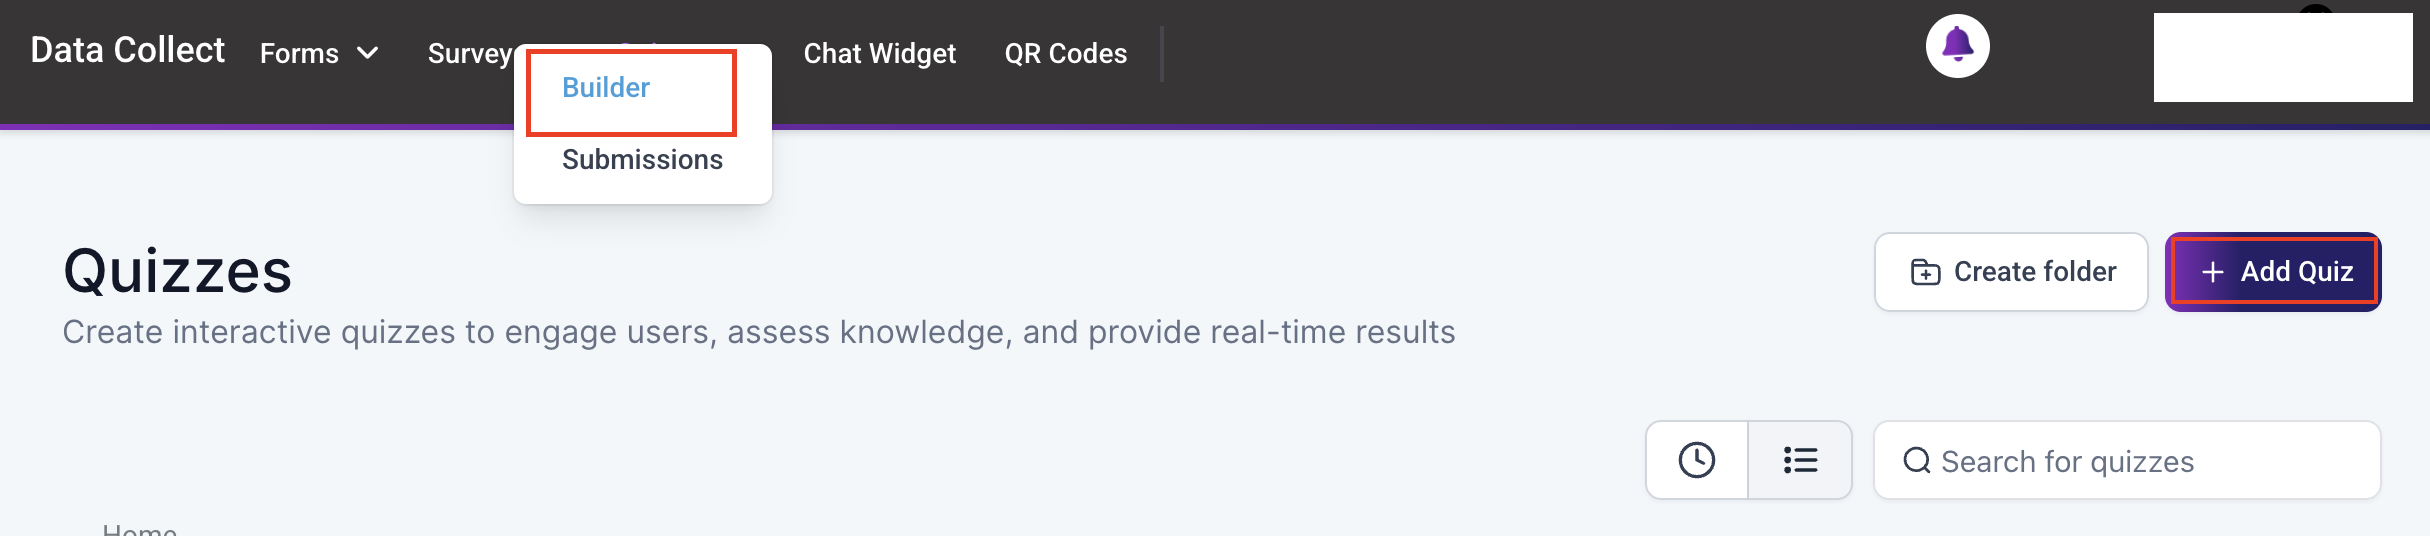
Navigate to the Quiz Builder from the Data Collect section of your account to begin. Select an existing Quiz from the list, or click the “+ Add Quiz” button to initiate the quiz creation process.
Scroll to the bottom of the builder to locate and click the option to edit the Result Template.

The template is divided into 4 Sections: Header, Categories, CTA, and Footer. Click on each section to customize.
Header #
Content #
The Content section will be displayed by default, offering options to customize the visibility of the Business Name, select the default header layout position (left-aligned), or opt for the reverse (right-aligned). Additionally, you can upload your logo from the media library and adjust the typography of the business name.

Margin & Padding #
Configure the Margin & Padding settings by entering appropriate values in the respective fields.

You can also slide the toggle, or choose from the options presented.

Additionally, update the metric used to further refine the margin and padding settings.

Background Color #
In the Background Color section, you can enter a specific hex code or select a color from the color picker that aligns with your business’s branding, allowing for greater customization and brand consistency.

Categories- Style #
Click the Score card to open the Categories section. By default, the Style tab will be displayed.

Content #
In this section, you have the option to display dynamic content based on the grade the contact received. Simply toggle each tier and input the corresponding message to be displayed.
Note: The tiers can be configured in the Score Tiers section under the Categories tab. Continue reading for detailed instructions.

Score Settings #
Choose whether to display the overall score and the score tiers. If you wish for the score to be displayed, you may also specify its position.

Margin & Padding #
Configure the Margin & Padding settings by entering appropriate values in the respective fields. You can also slide the toggle, or choose from the options presented. Additionally, update the metric to refine the margin and padding settings.

Background Color #
In the Background Color section, you can enter a specific hex code or select a color from the color picker that aligns with your business’s branding.
Categories- Score Tiers #
Navigate to the Score Tiers menu to customize scores with colors and labels, visually categorizing performance levels. To add a tier, click the “+ Add Tier” button, or remove a tier by clicking the trash icon next to the respective tier.

Call to Action (CTA) #
Click the CTA section to begin customizing it.

Content #
In this section, you have the option to display dynamic content based on the grade the contact received. Simply toggle each tier and input the corresponding message to be displayed. Additionally, enter the text that should be displayed on the CTA button, and the link it should redirect to.

Button Style #
Open this section to update the button and/or text color. Enter a specific hex code or select a color from the color picker that aligns with your business’s branding.

Margin & Padding #
Configure the Margin & Padding settings by entering appropriate values in the respective fields. You can also slide the toggle, or choose from the options presented. Additionally, update the metric to refine the margin and padding settings.
Background Color #
In the Background Color section, you can enter a specific hex code or select a color from the color picker to align the background color of the section and category with your branding.

Footer #
With the previous sections now fully customized, you can now proceed to the Footers section.

Content #
The Content section will open by default, allowing you to customize the visibility of the Business Name, upload your logo from the media library, and adjust the typography of the business name.

Additionally, you can add your social media platforms to encourage engagement and provide alternative ways for users to connect with your team. You can also toggle the Sticky setting to control how the footer is displayed.

Margin & Padding #
Configure the Margin & Padding settings by entering appropriate values in the respective fields. You can also slide the toggle, or choose from the options presented. Additionally, update the metric to refine the margin and padding settings.
Background #
Finally, select an image to be displayed in the Footer background, or choose a color to maintain your brand colors.

Now that your template is fully customized, click Save to maintain your changes.

Your customers will now be able to view their quiz results on the custom template you’ve designed, providing a tailored and engaging experience.
What's your Reaction?
You have reacted on"How to Customize Your Quiz Result Template"
A few seconds ago


 Subscriptions
 My Orders
 My Wishlist
 Refer & Earn💸
 My Projects
 Conversations
 Website Services
 New Website Request
 Website Addons
 Graphic Design
 Video Production
 Marketing Services
 Get a Marketing Plan
 Local SEO Audit

 Latest Updates
 Consultation Calls
 Tools & Extensions


