This section allows you to customize your entire membership portal for your account. Before you go live with any of your portals you need to set up these three sections below in a way that is easier for visitors to find.
To access the Settings open the drop-down menu for the Courses tab inside the Memberships section and select Settings.

Site Details #
Here you can set up your site info and Branding.

Site Info #
- Title: You can customize the title of your membership portal here. Whatever name you use will be for the entire membership portal, so it’s advisable to use your company’s name.
- Site URL: Here you can find the URL members will use to access your site.
- Advanced: Manage your Custom JS, CSS, and Tracking Code in the Advanced dropdown.

Branding #
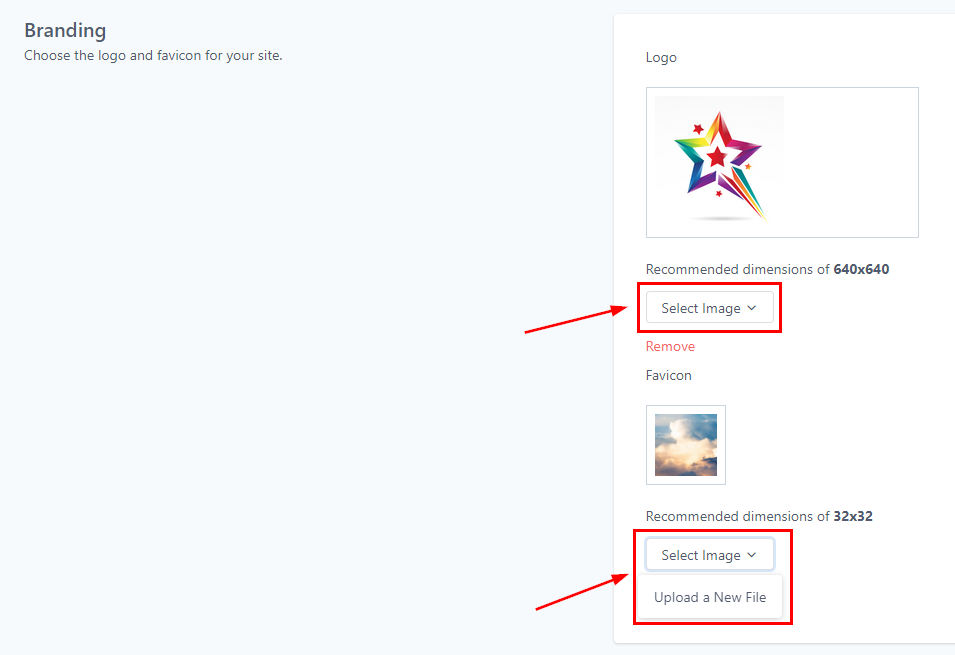
Here you can add your Logo and Favicon to your site. The recommended dimensions of the image are 640×640 for your logo and 32×32 for your Favicon. When you click on the “Select Image” menu below the Image icon and click “Upload New Files”, it directs you to the upload page where you can upload the image you want to use from your local device.
Building Settings #
Enable the Download option to allow users to download original videos from your courses. Always click the Save button to confirm changes.

Domain Setup #
This helps you to set up your custom domain on your membership site.

Setup Domain #
Here you can customize your portal’s Sub-Domain by entering a preferred sub-domain in the provided field. If you want to use a personalized web address, add a Custom Domain by typing it into the relevant field and clicking the Add Domain button. Once you’ve made your changes, click Update Domain to save and apply them.

Email Settings #
You can customize your Email here. This allows you to send relevant emails to your course community.

You can send automated messages to your clients with Send Welcome Message, Send Drip Message, Send Offer Access Email, New Comments In Courses, and New Course Materials Unlocked options. Also, create default templates that enable you to send emails faster and more efficiently.

App Settings #
You can customize the experience of your desktop and mobile progress app.

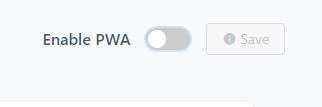
Enable PWA #
Progressive Web Application (PWA) is a type of web app that can operate both as a web page and mobile app on any device. Toggle it on to enable it!
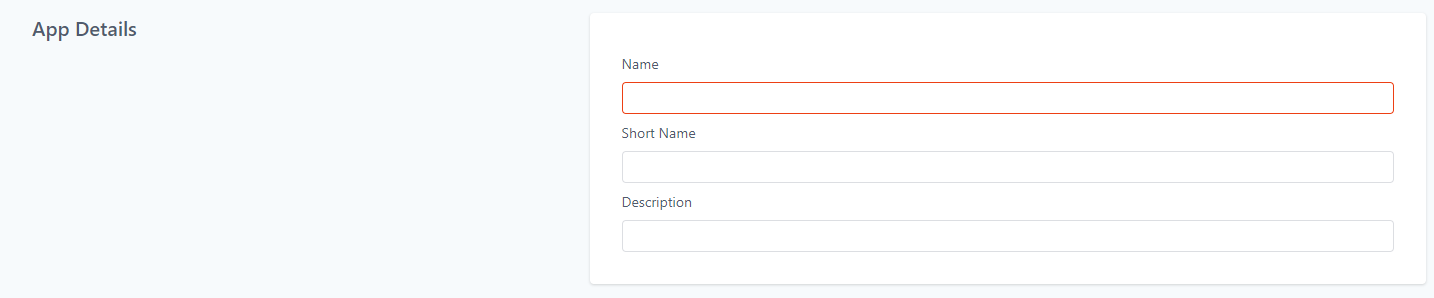
App Details #
Here you can type in the App name. You can also have a short name for your app if the original name is too long or complex. Give a brief description to help visitors understand what your app does.
App Icon #
These icons will appear in multiple places like the App drawer and splash screen. There are two image sizes to upload; the Recommended dimensions of 512×512 and the Recommended dimensions of 192×192.
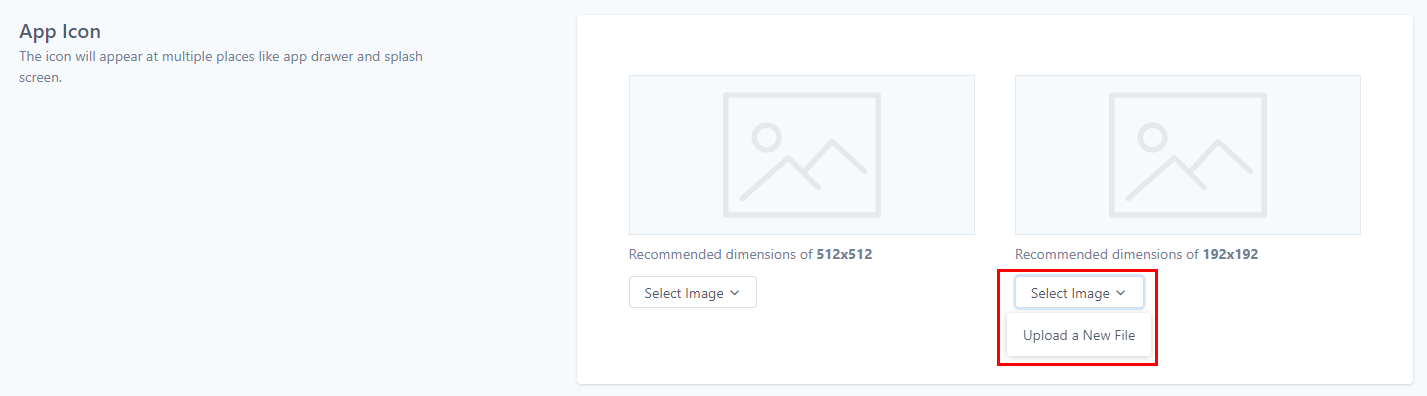
When you click on the “Select Image” menu below the Image icon and then click “Upload New Files”, it directs you to the upload page where you can upload the image you want to use from your local device.
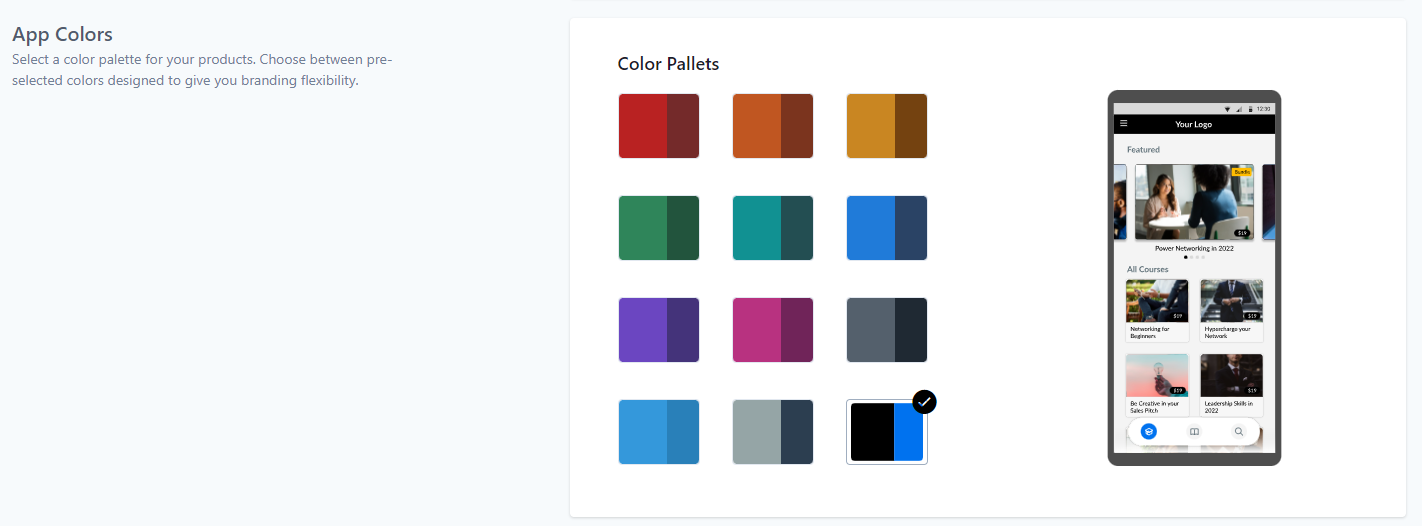
App Colors #
Select a color palette for your products. Choose between pre-selected colors designed to give you branding flexibility
Customizing your membership portal is a straightforward process with these settings. Once configured, your portal will deliver a professional and user-friendly experience tailored to your audience.
What's your Reaction?
You have reacted on"Membership Settings"
A few seconds ago


 Subscriptions
 My Orders
 My Wishlist
 Refer & Earn💸
 My Projects
 Conversations
 Website Services
 New Website Request
 Website Addons
 Graphic Design
 Video Production
 Marketing Services
 Get a Marketing Plan
 Local SEO Audit

 Latest Updates
 Consultation Calls
 Tools & Extensions


